How to Do Roofing Step by Step
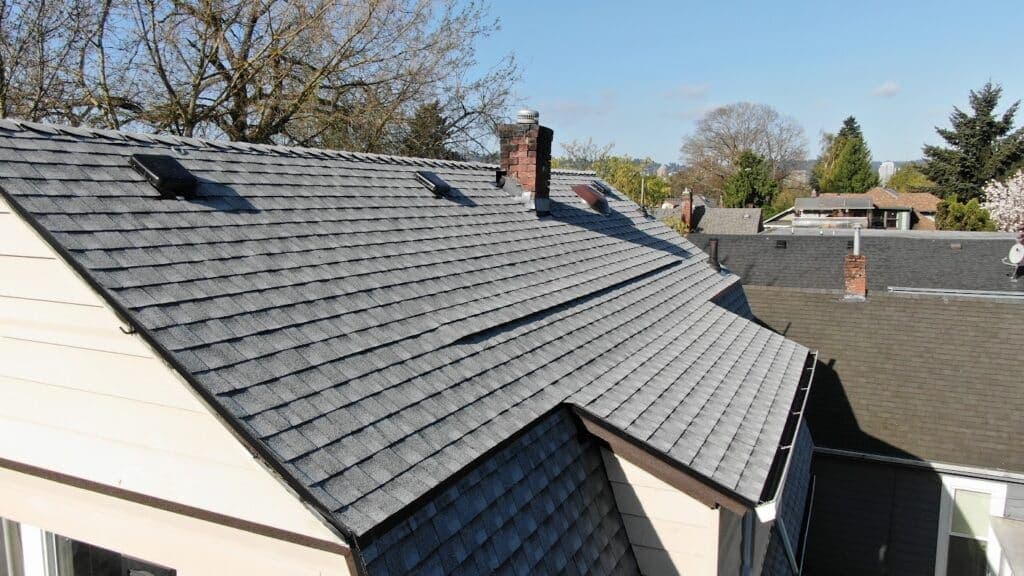
Knowing how to do roofing step by step helps you see what a planned job looks like and ask the right questions before work starts. A reliable roof is not a pile of shingles. It is a system that keeps water off the deck, walls, attic, and foundation.
A full reroof belongs with a qualified roofer. Kutsch Roofing can assess the roof, write the scope, and say whether a patch or a replacement is the practical call.
Start with the right decision
Before anyone orders material, decide if the damage is local or general. A few missing shingles, a damaged vent boot, or a partial flashing failure is roof repair. Repeated leaks, wide curling, exposed mat, heavy granule loss, or soft decking is a bigger job.
The leak you see inside is often not the opening on the roof. Valleys, chimneys, wall intersections, skylights, and pipe penetrations depend on overlapping flashing — inspect those first.
How to do roofing step by step
A professional asphalt-shingle sequence typically follows these stages:
- Plan for safety and compliance. Confirm permits and inspections, check the weather, protect landscaping, move vehicles, and set fall protection. Steep, high, wet, windy, or complex roofs are where people get hurt.
- Remove the old roof covering. Shingles, underlayment, and protruding nails come off where the scope requires it. Tarps and a dumpster keep debris off the property.
- Inspect and repair the deck. Check sheathing for rot, moisture, loose panels, and weak spots before it is hidden. Covering bad deck traps the problem.
- Install edge protection and water barriers. Drip edge sends runoff off the fascia. Self-adhered ice protection where code or climate requires it, plus underlayment, is the secondary barrier.
- Install valleys and flashing correctly. Chimneys, vents, dormers, walls, and valleys have to overlap so water sheds outward. This step often decides whether the roof stays tight.
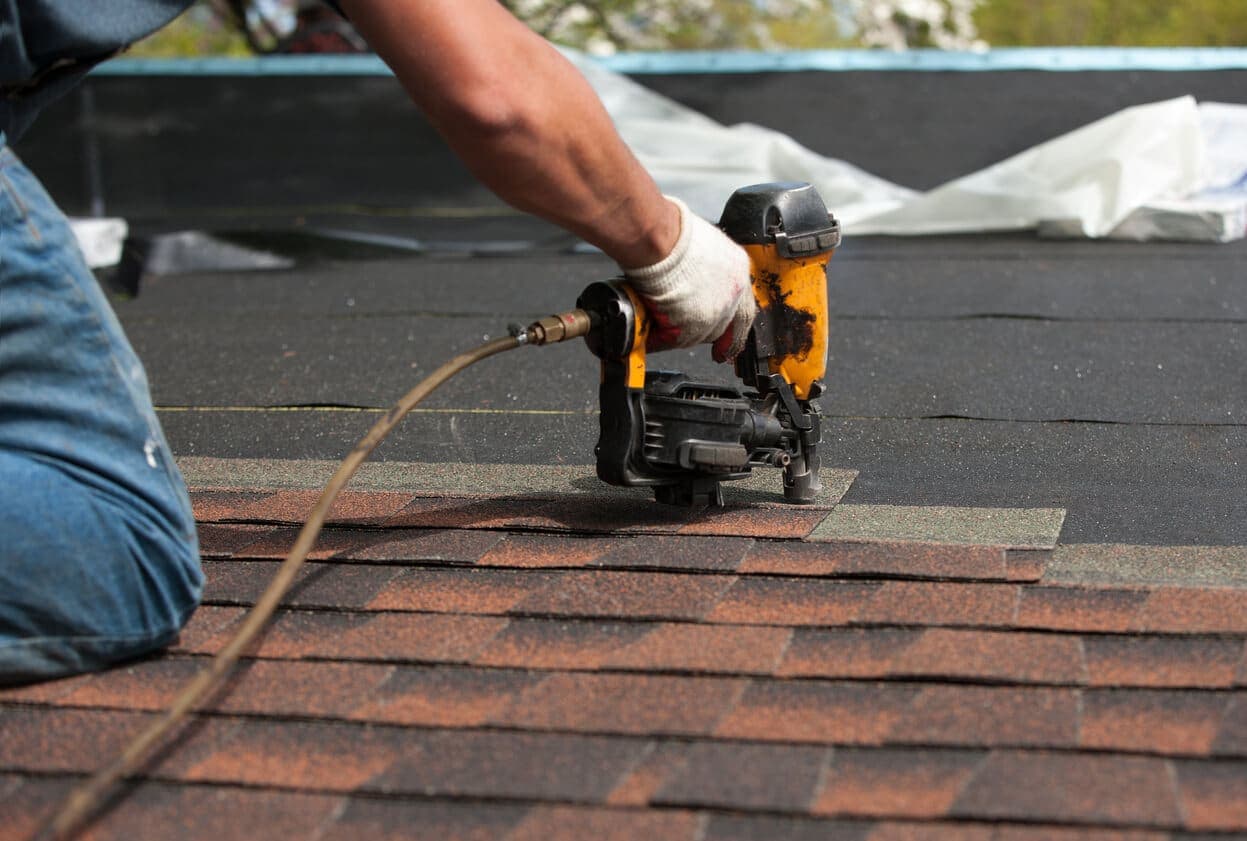
- Apply starter and field shingles. The starter course closes the eaves and rakes. Field shingles run from the bottom up with staggered joints, consistent exposure, and fasteners in the manufacturer’s nail zone.
- Finish the ridge and inspect the system. Ridge caps, ventilation, specified sealant, cleanup, and a final inspection. This is where “installed” becomes “verified.”
Roofing tips that prevent problems
- Follow the product installation manual. Nail placement and quantity are not universal.
- Keep underlayment smooth. Wrinkles show through and can affect performance.
- Do not use sealant as a substitute for correct flashing overlap.
- Confirm the attic has a ventilation plan before you close the ridge.
- Ask how damaged decking, hidden rot, and flashing replacement will be priced if they show up.
- Have the crew do a magnetic nail sweep before they leave.
These details matter because the expensive failures start under the surface, not with the color or brand of the shingle.
What homeowners should verify
Before work begins, get a written scope that states:
- Tear-off versus overlay
- Deck inspection and replacement procedure
- Underlayment, drip edge, valley protection, and flashing materials
- Ventilation work and ridge-cap details
- Who pulls the permit and meets the inspector
- Cleanup, disposal, and nail-sweep expectations
- Manufacturer material warranty and a separate workmanship warranty
A proper roof installation plan makes those items clear before the first bundle reaches the roof. For the install sequence in more detail, see how to install a new roof.
The bottom line
The best answer to how to do roofing step by step is the system order: assess, remove failed material, repair the deck, lay the water-shedding layers, flash the vulnerable spots, apply the shingles correctly, then inspect and clean up. Skip a step and the materials above it are compromised. When repairs will no longer protect the house, get a replacement assessment. A roof-specific inspection is what tells you the condition of the deck, flashing, airflow, and field.
Quick answers
What is the correct order for a roofing job?
Safety and permits, tear-off, deck repair, drip edge and underlayment, flashing, starter and field shingles, ridge and ventilation, then cleanup and inspection.
What should be in a written roofing scope?
Tear-off vs overlay, deck repairs, underlayment and flashing, ventilation, permit responsibility, cleanup, and both the material and workmanship warranties.
Can sealant replace flashing?
No. Sealant is not a substitute for overlapping metal that sheds water. That shortcut is how leaks come back.
Want someone to actually look at it?
Free inspection, photos of whatever we find, and a written recommendation — including “this roof is fine, call us in five years.”